Week Ten (23/June/2014 - 29/June/2014)
Introduction
Mission Planner is an open source solution that provides initial set-up, configuration and testing for our quad-copter as well as mission-planning / operation, post mission analysis and swarm UAV.
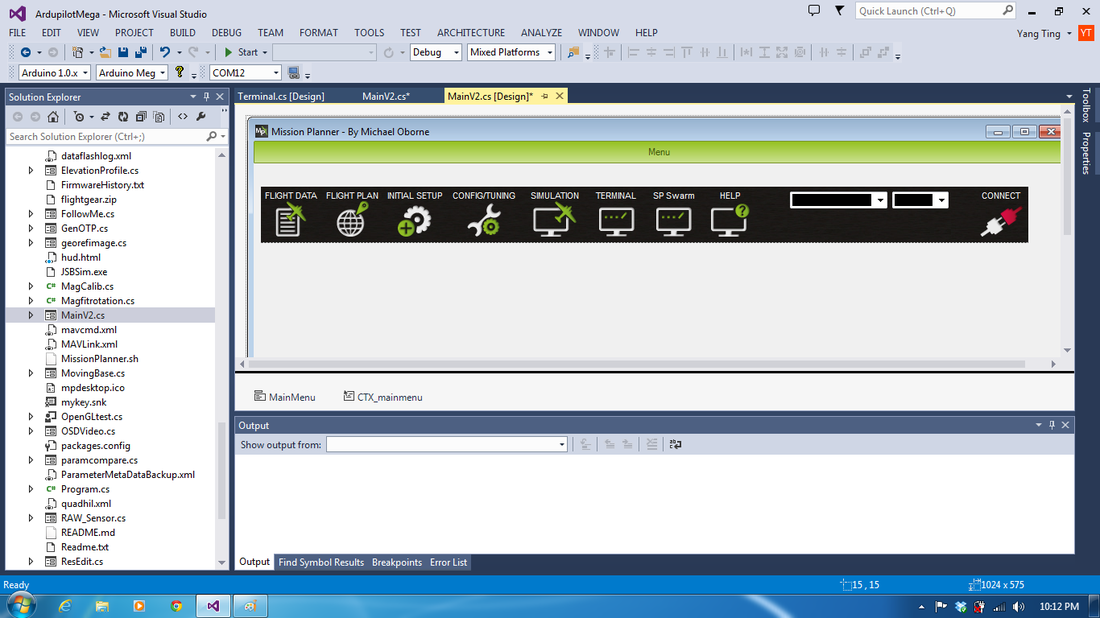
Our group want to explore the source code, try to modification to make a small change to meet a unique need for our project requirement.
Our group want to explore the source code, try to modification to make a small change to meet a unique need for our project requirement.
System Requirements (Microsoft Visual Studio 2013)
Supported operating systems
Windows 8.1 (x86 and x64)
Windows 8 (x86 and x64)
Windows 7 SP1 (x86 and x64)
Windows Server 2012 R2 (x64)
Windows Server 2012 (x64)
Windows Server 2008 R2 SP1 (x64)
Hardware requirements
1.6 Ghz or faster processor
1 GB of RAM (1.5 GB if running on a virtual machine)
20 GB of available hard disk space
5400 RPM hard disk drive
DirectX 9-capable video card that runs at 1024 x 768 or higher display resolution
Getting Visual Studio
The first step is to get Microsoft Visual Studio installed and working in the Windows system.
Install Microsoft Visual Studio 2013 or latest version that supports the C# programming language.
Singapore Polytechnic provide Microsoft Visual Studio 2013 full application for student, can be down from Microsoft DreamSpark.
Our group using Windows 7 operating system and here we will provide the set up detail for Microsoft Visual Studio 2013.
The Microsoft Visual Studio 2013 install will take several hours, after installation is complete and before you attempt to work with Mission Planner it is highly recommended you test your installation, build a simple "Hello world" application.
Getting the source code from Github into your computer
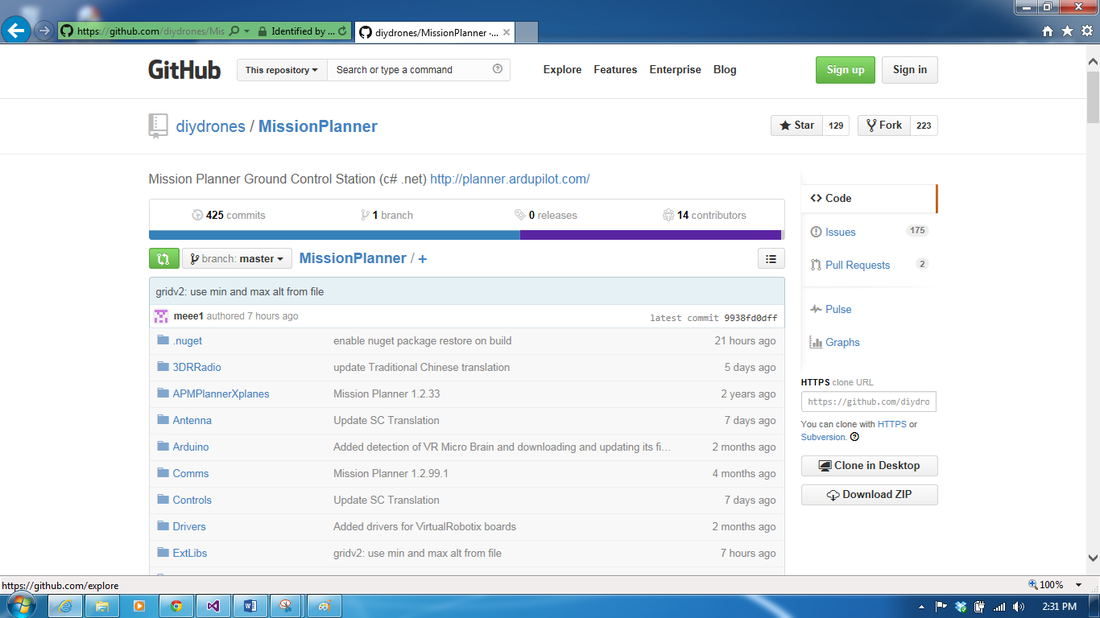
Download the Mission Planner source code from the website: https://github.com/diydrones
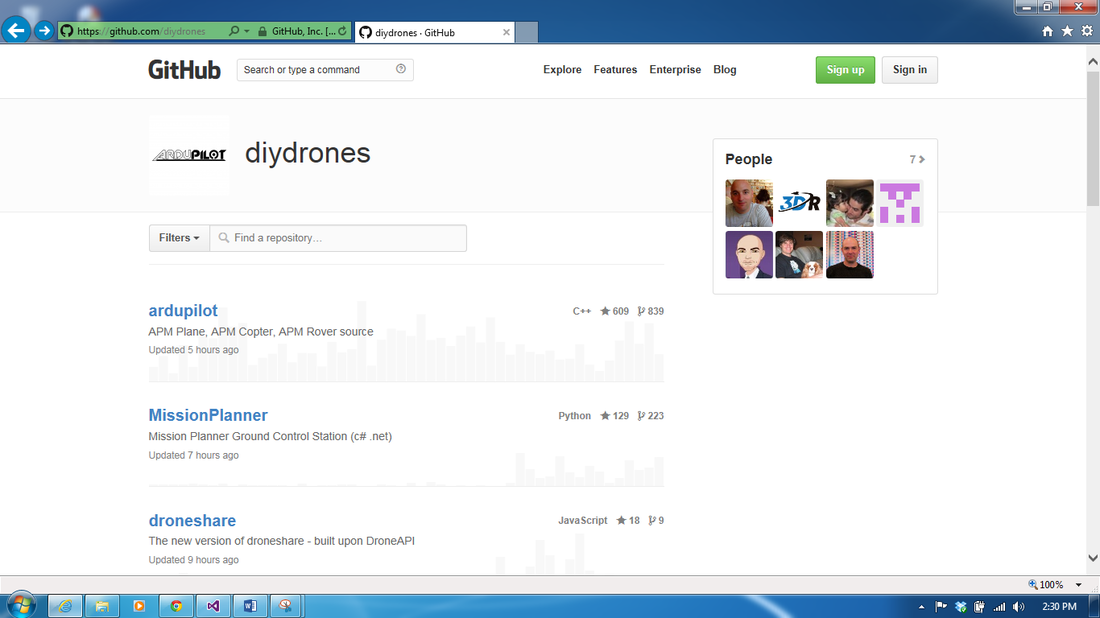
Click the "Download ZIP" button at the lower right corner.
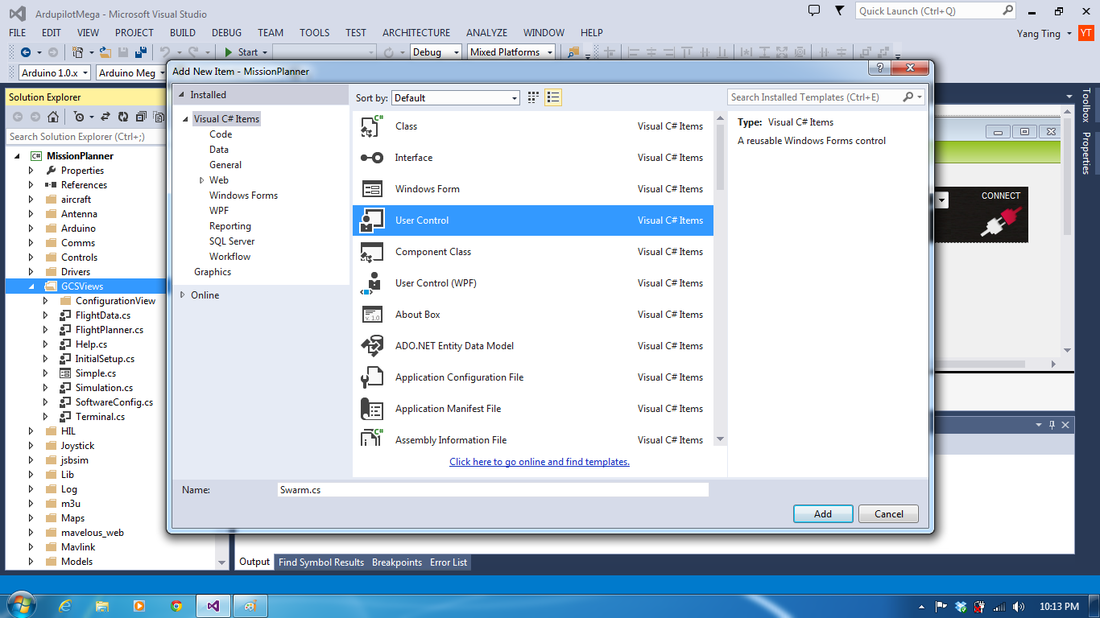
Opening the Mission Planner solution in Visual Studio
After the Mission Planner source code download finish, run your Microsoft Visual Studio 2013
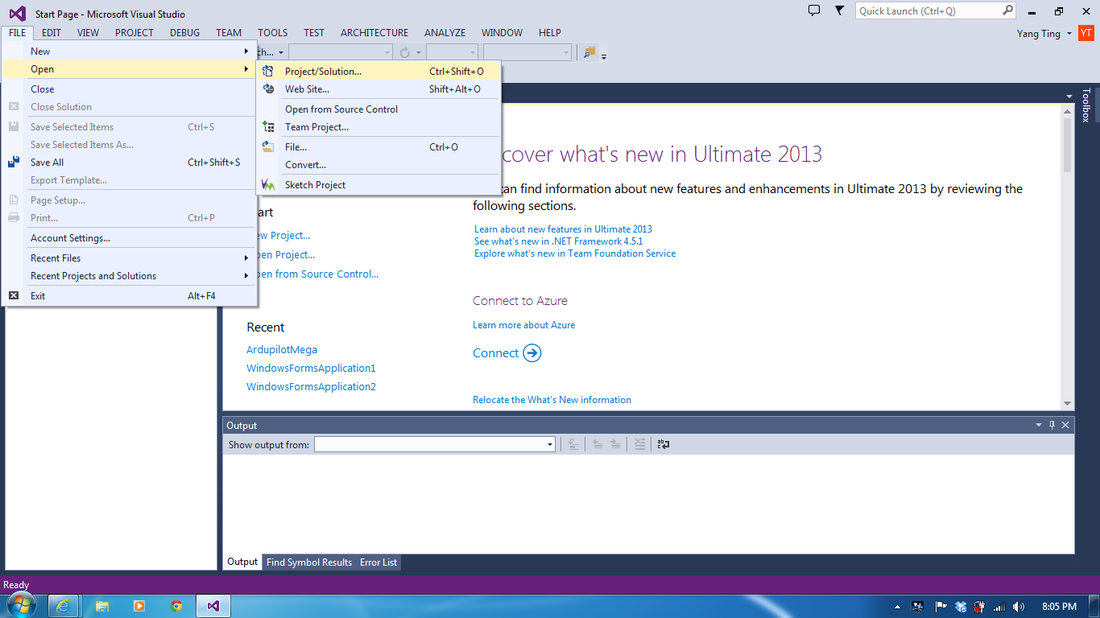
Click "File" --> "Open" --> "Project Solution".
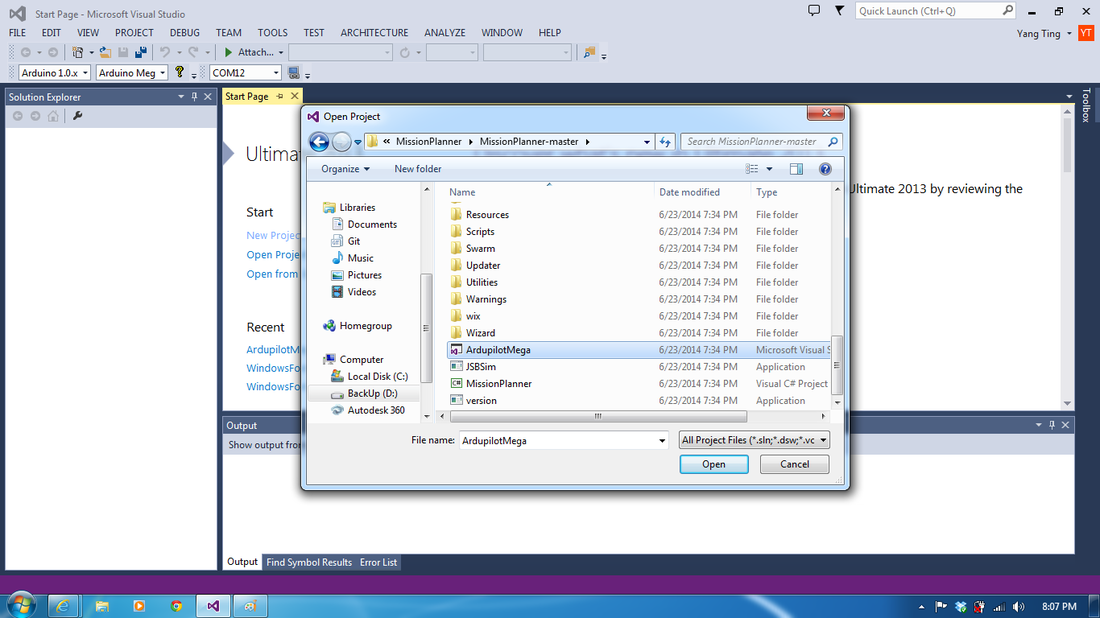
Browse to your local Mission Planner root and open "ArdupilotMega.sln".
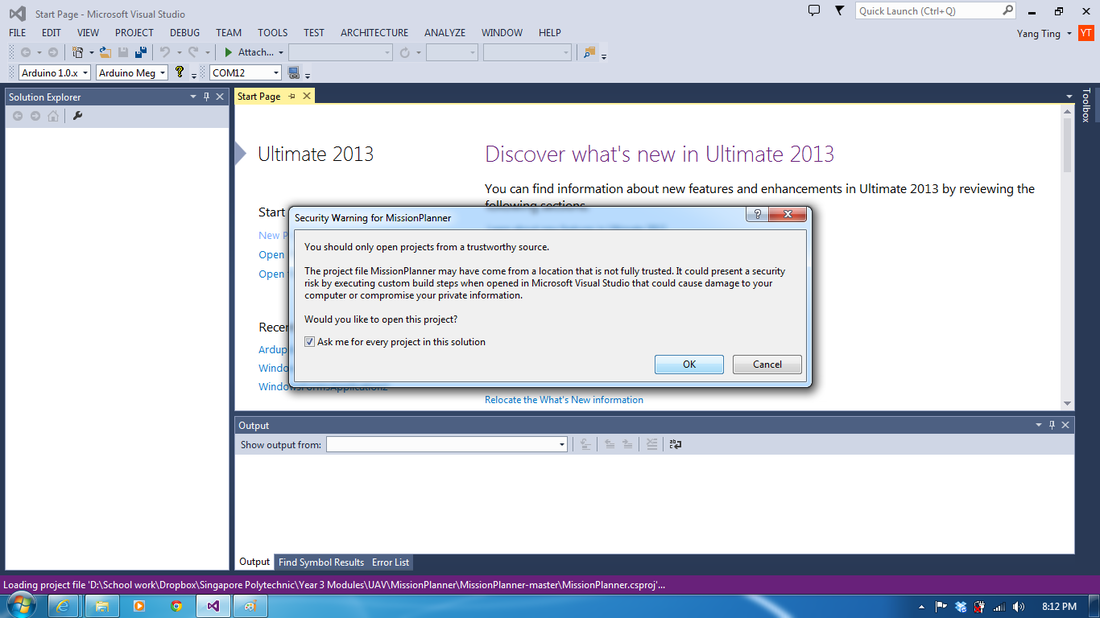
Visual Studio should open the solution. One or more file will be changed as it does this.
Security Warning for Mission Planner will appear on your screen, click "OK" to continue. You have not choice!!!
Security Warning for Mission Planner will appear on your screen, click "OK" to continue. You have not choice!!!
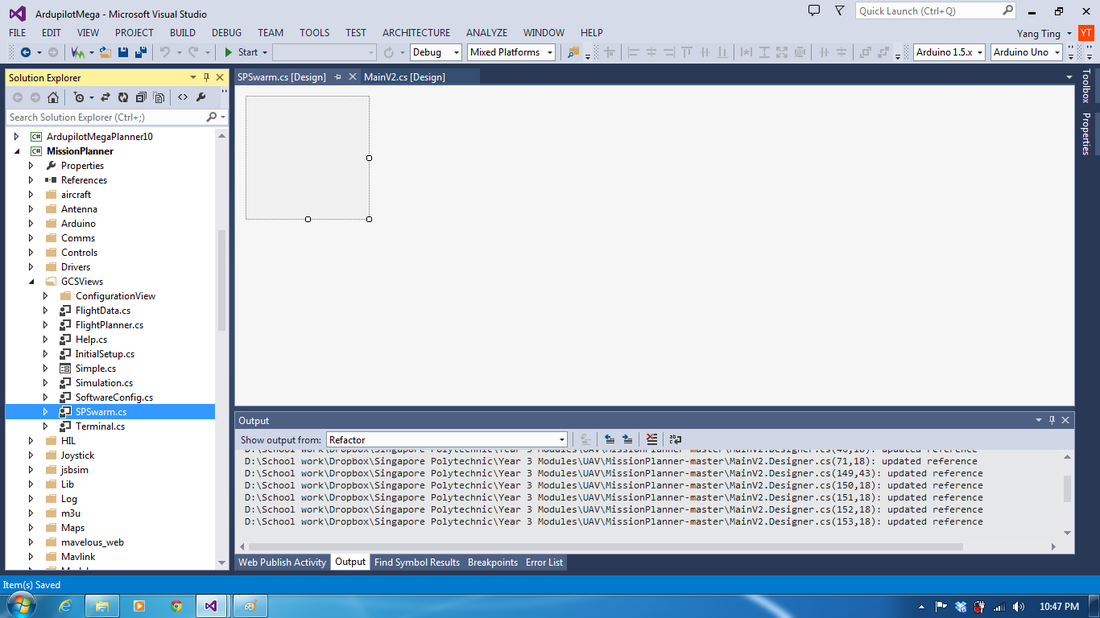
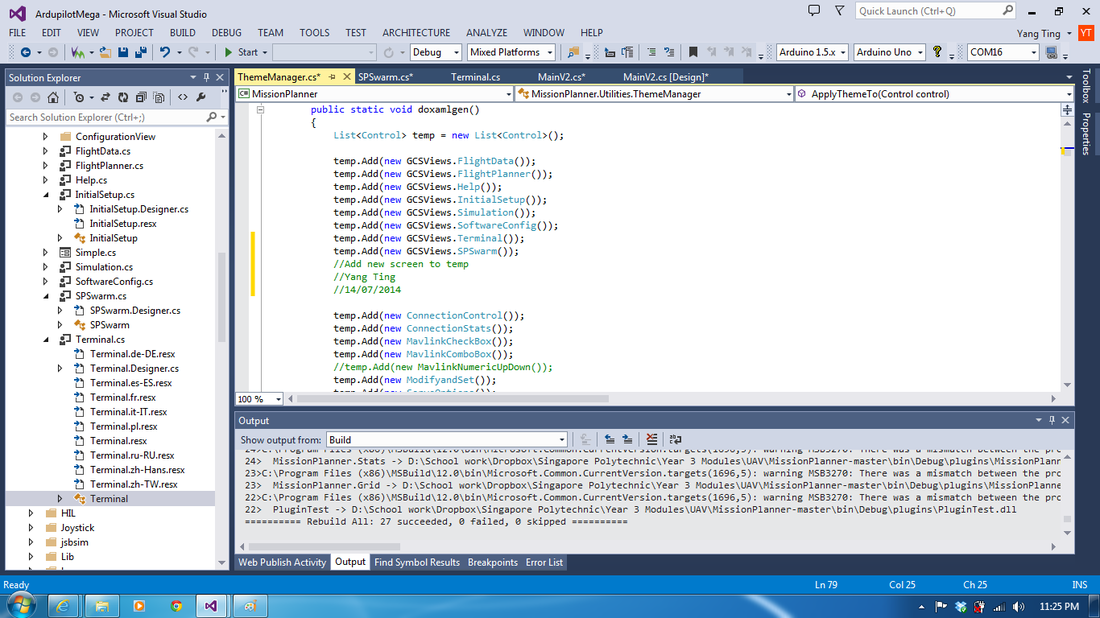
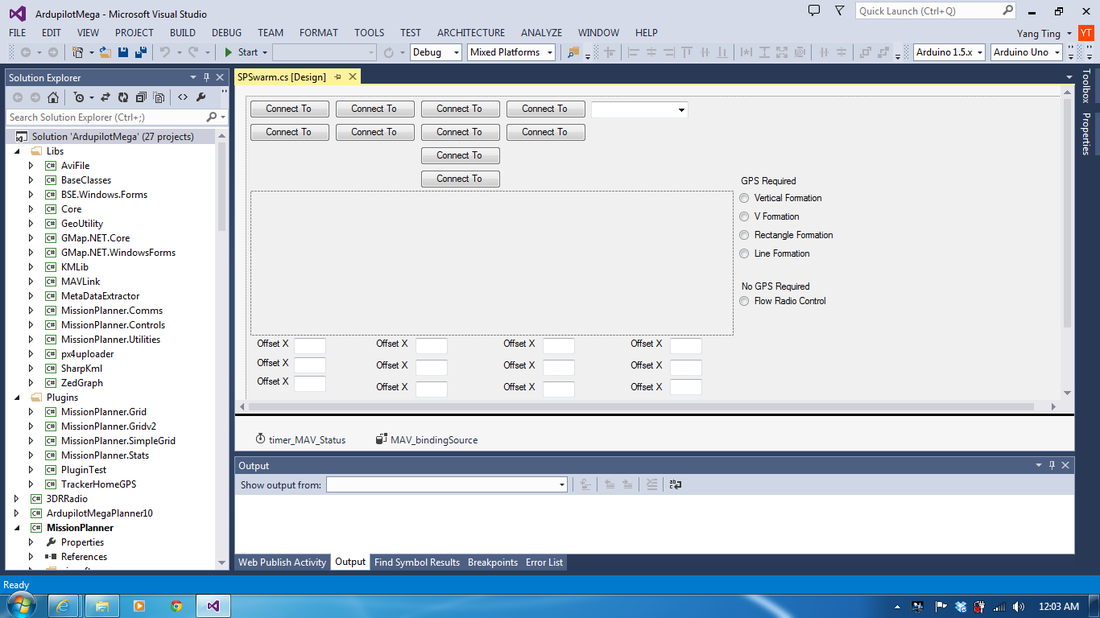
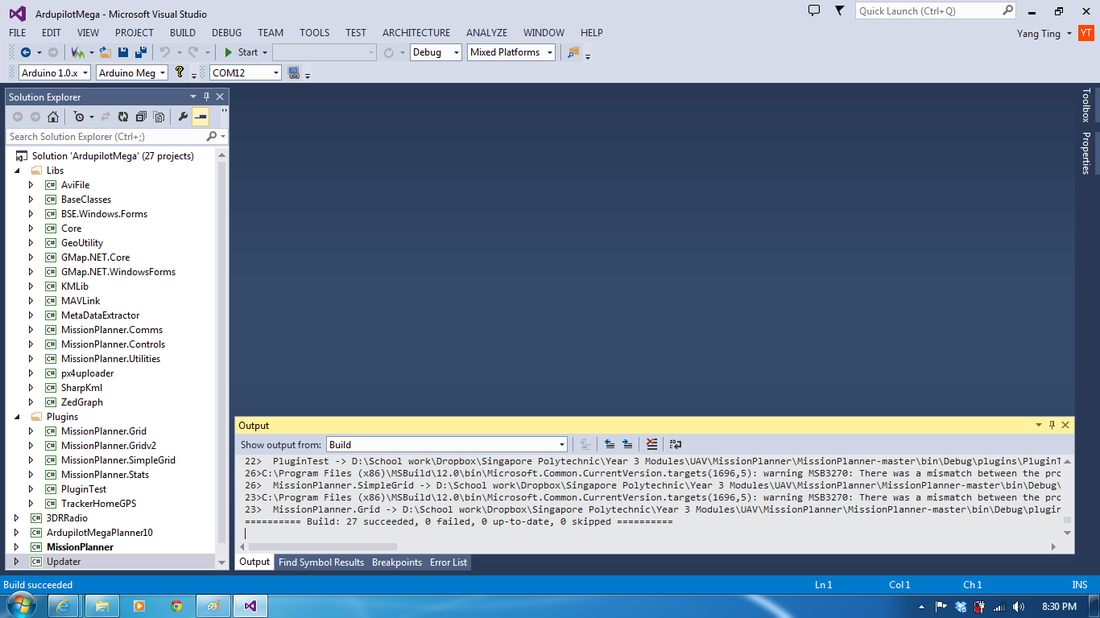
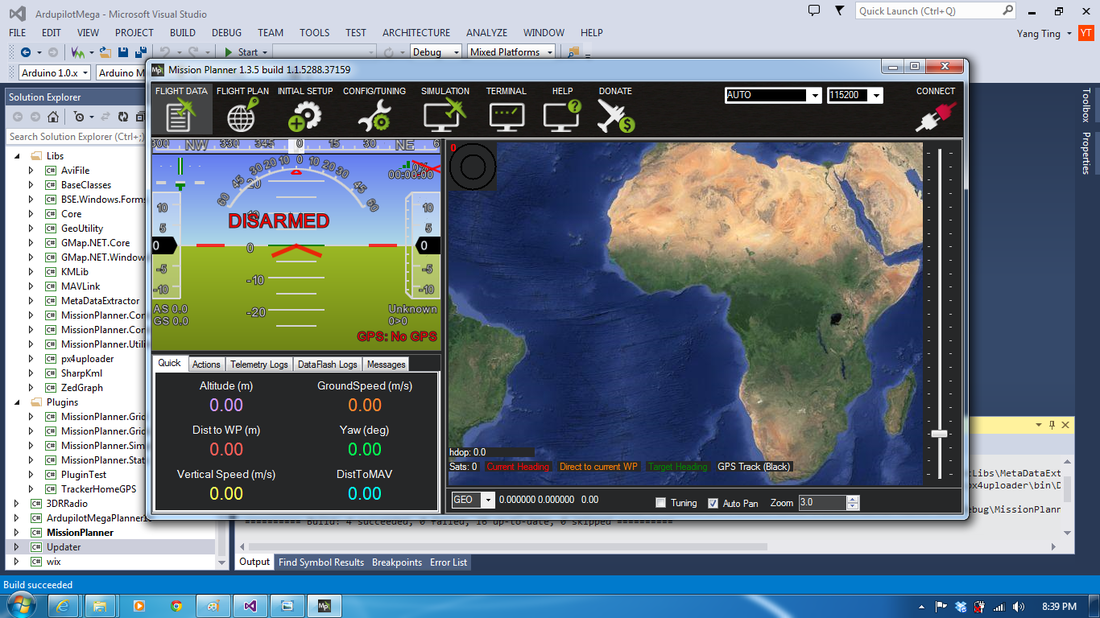
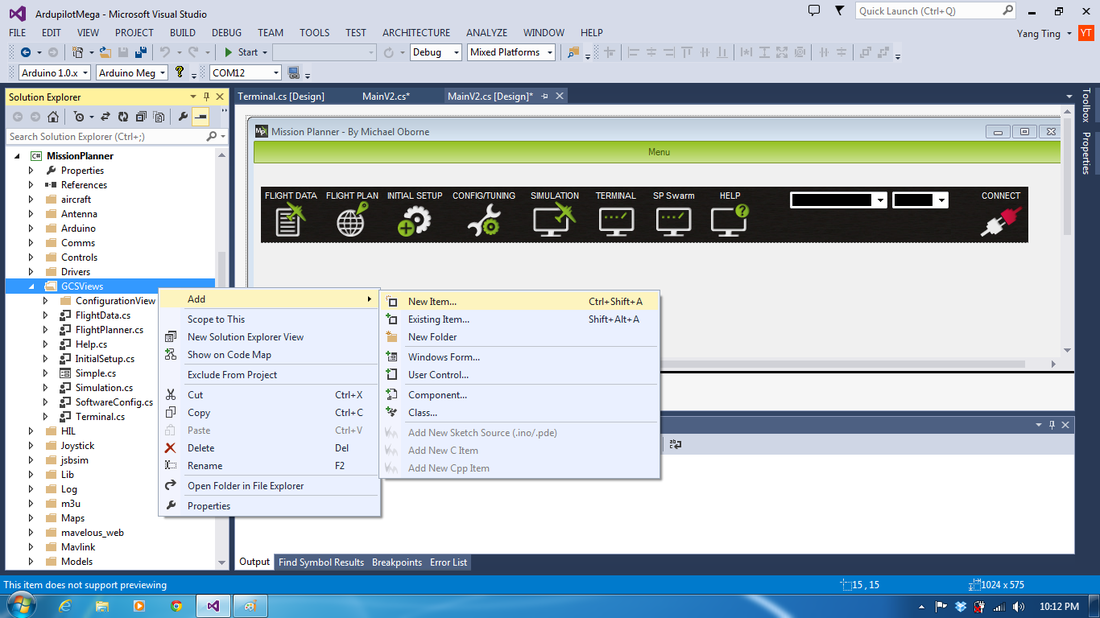
After opening the solution, you should see screen as same as below.
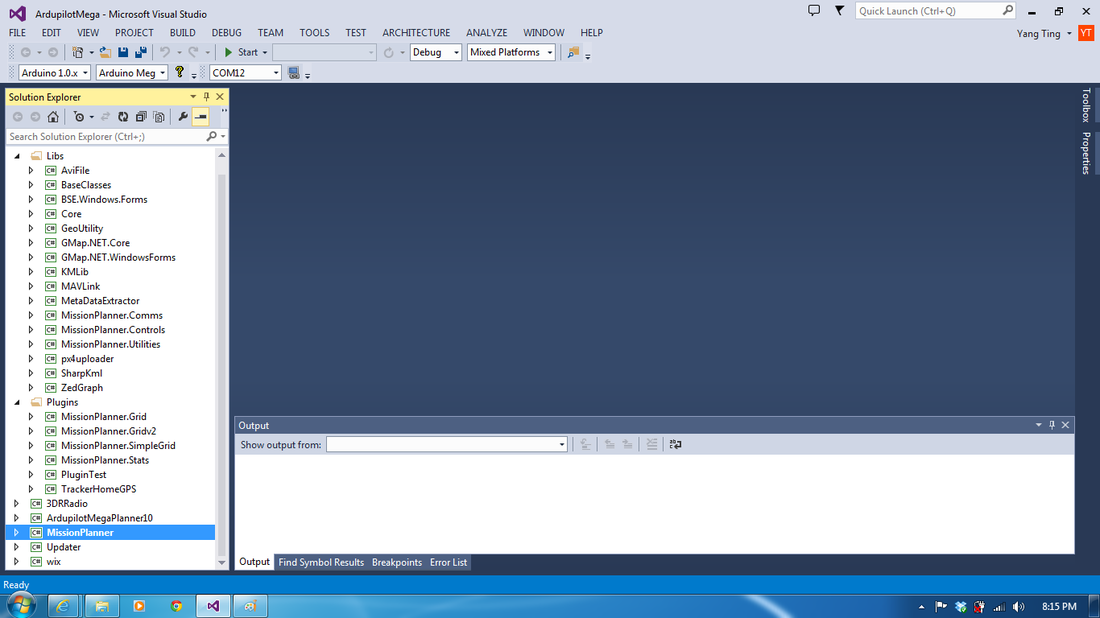
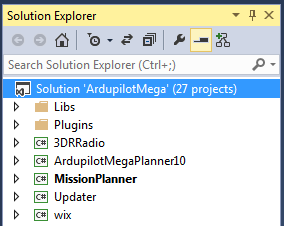
Ignore any errors you see at this time. Look at the "Solution Explore" in Visual Studio. It should have 27 projects.
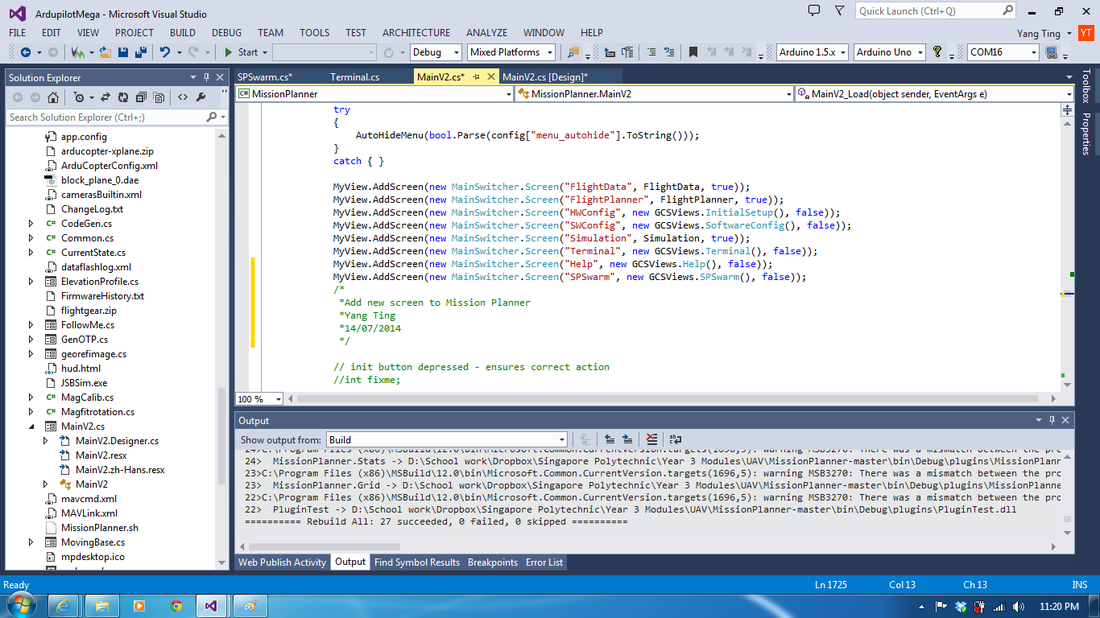
Mission Planner is made up of several project. You have to familiarize yourself with the structure using the Visual Studio Solution Explore.
Building Mission Planner
We are using Mission Planner 1.3.5 source code for our project.
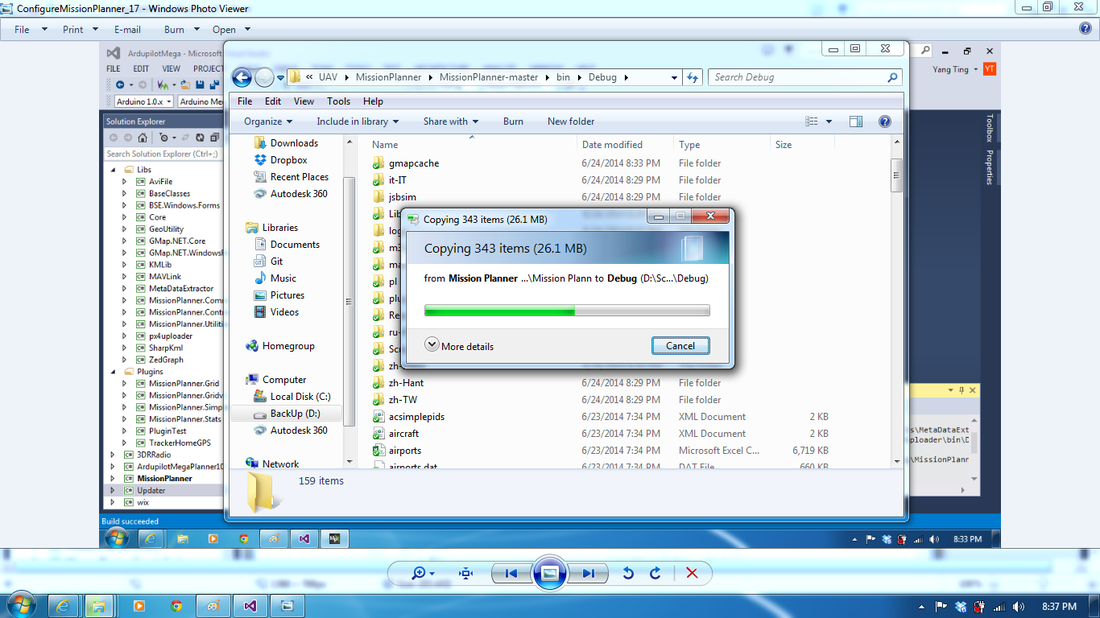
Before attempt to build Mission Planner, must also have an installed version on the PC. That is where some of the files will need to reference are located.
This is because these files ( .dll files, Ets) are not included in the Git repository.
Install Mission Planner the normal way or if installed, be sure Mission Planner have the latest revision.
The installed revision must match the Mission Planner source code.
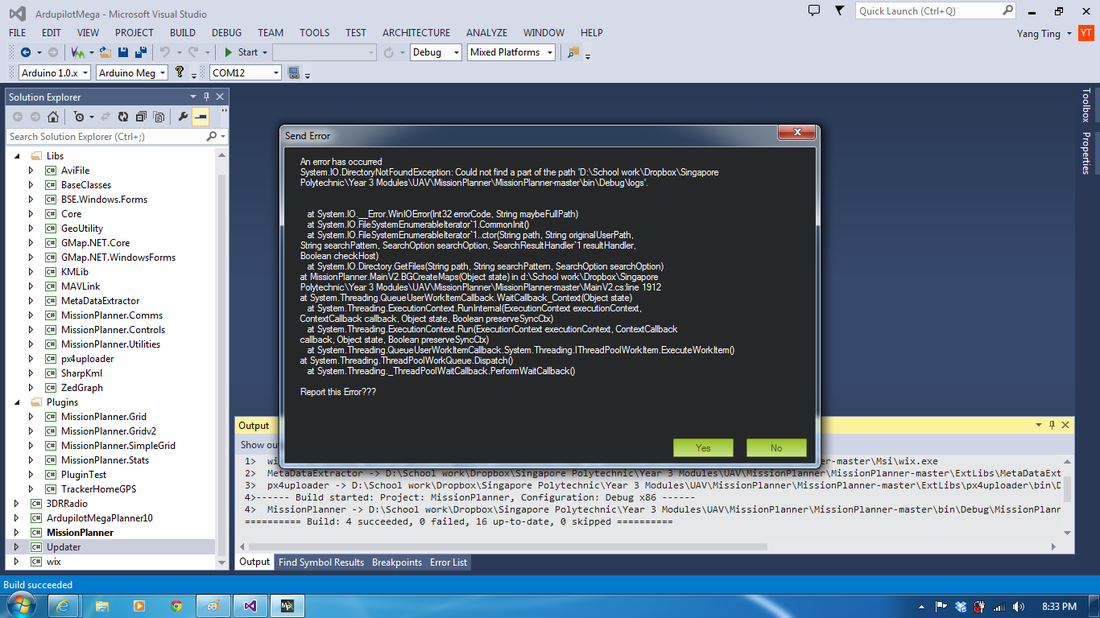
First attempt to compile (build) Mission Planner will probably see error, to reduce or eliminate error, do these steps before your first build.
Before attempt to build Mission Planner, must also have an installed version on the PC. That is where some of the files will need to reference are located.
This is because these files ( .dll files, Ets) are not included in the Git repository.
Install Mission Planner the normal way or if installed, be sure Mission Planner have the latest revision.
The installed revision must match the Mission Planner source code.
First attempt to compile (build) Mission Planner will probably see error, to reduce or eliminate error, do these steps before your first build.
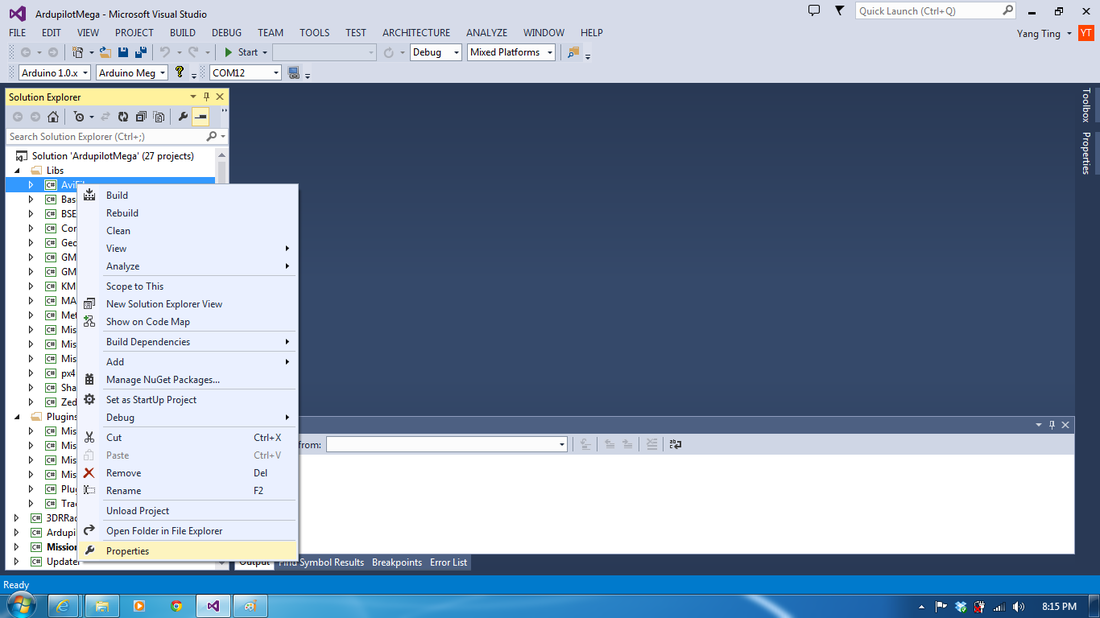
Step 1:
In the Visual Studio Solution Explore, right click the ArdupilotMega project (Icon is box with C#)

Step 2:
Select properties. This bring up the project properties window.
Select properties. This bring up the project properties window.
The Properties window will appear on your screen as same as below figure.
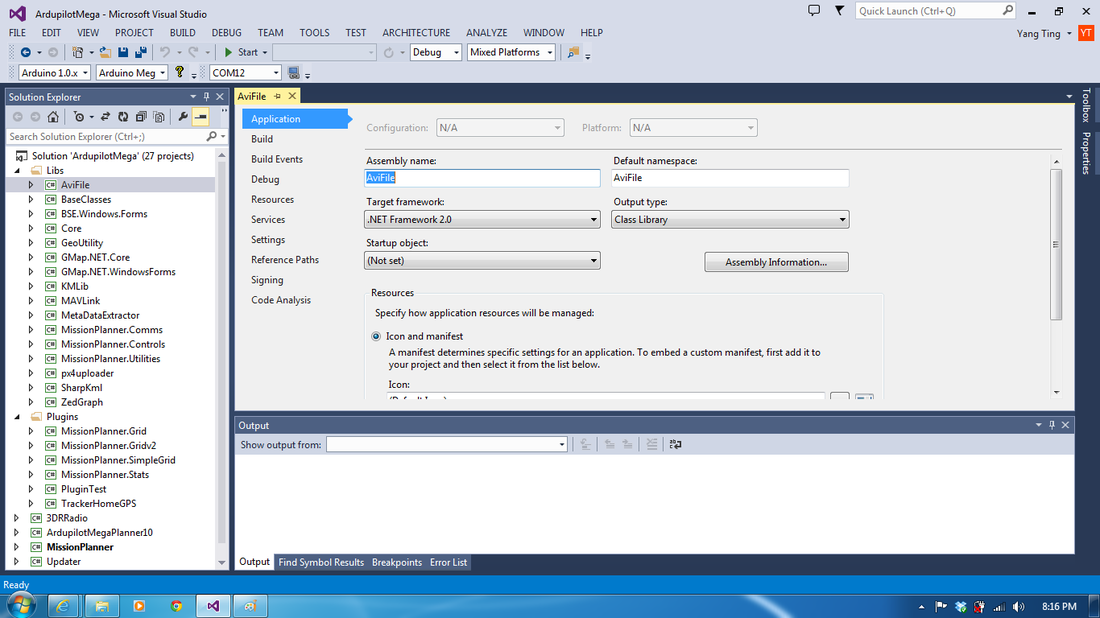
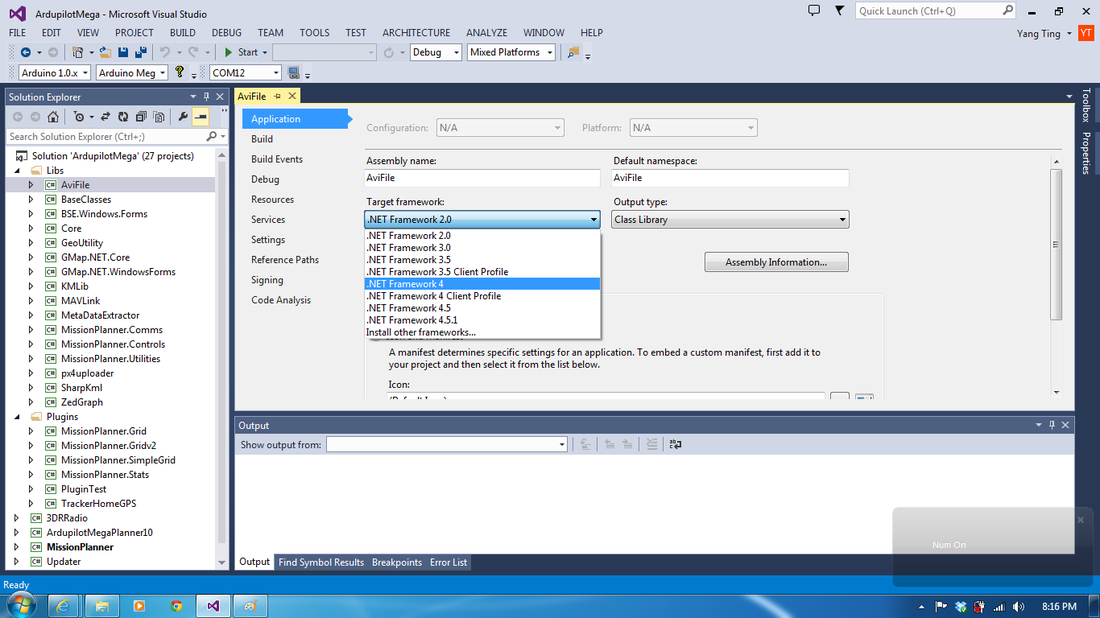
Step 3:
Click on Application, under Target Framework select ".Net Framework 4".
Click on Application, under Target Framework select ".Net Framework 4".
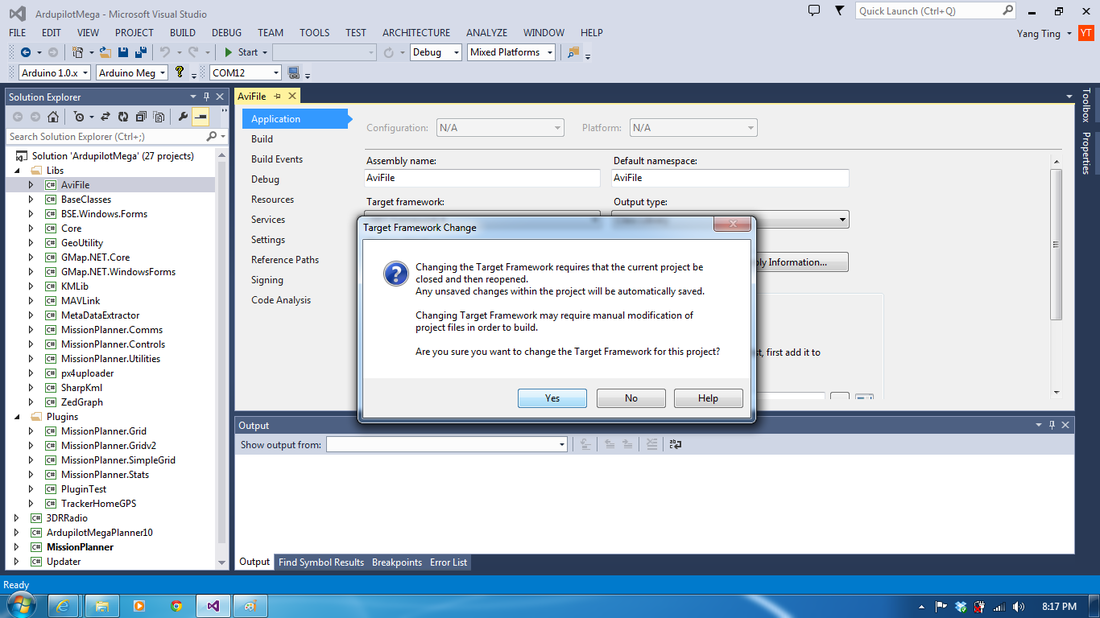
The "Target Framework Change" message box will appear on your screen, click "Yes" to apply this change.
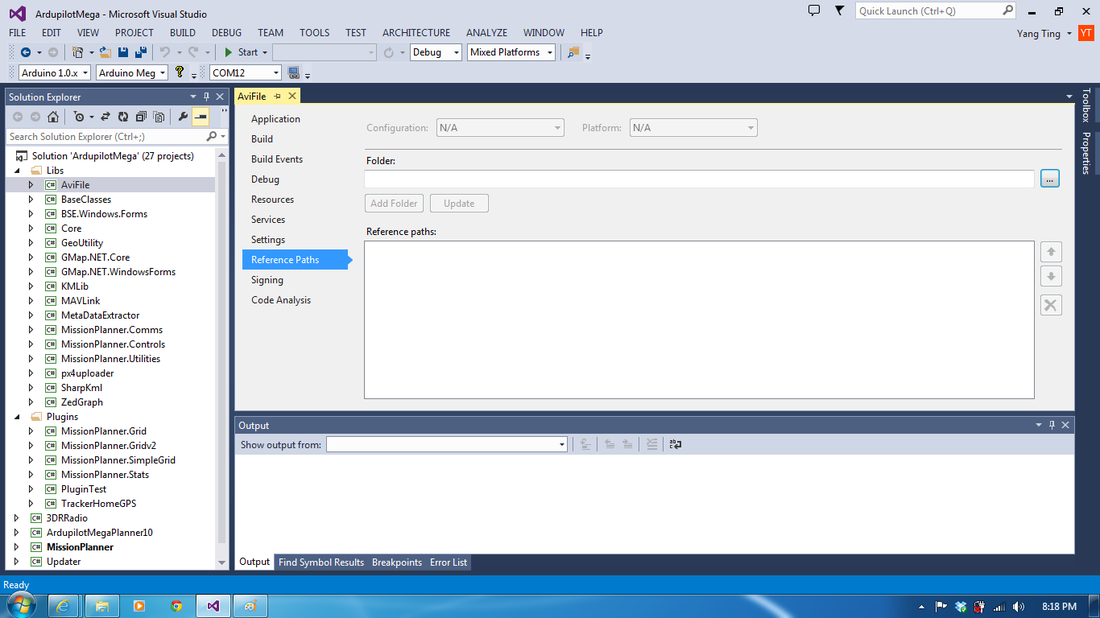
Step 4:
Click on Reference Paths in the properties window.
Click on Reference Paths in the properties window.
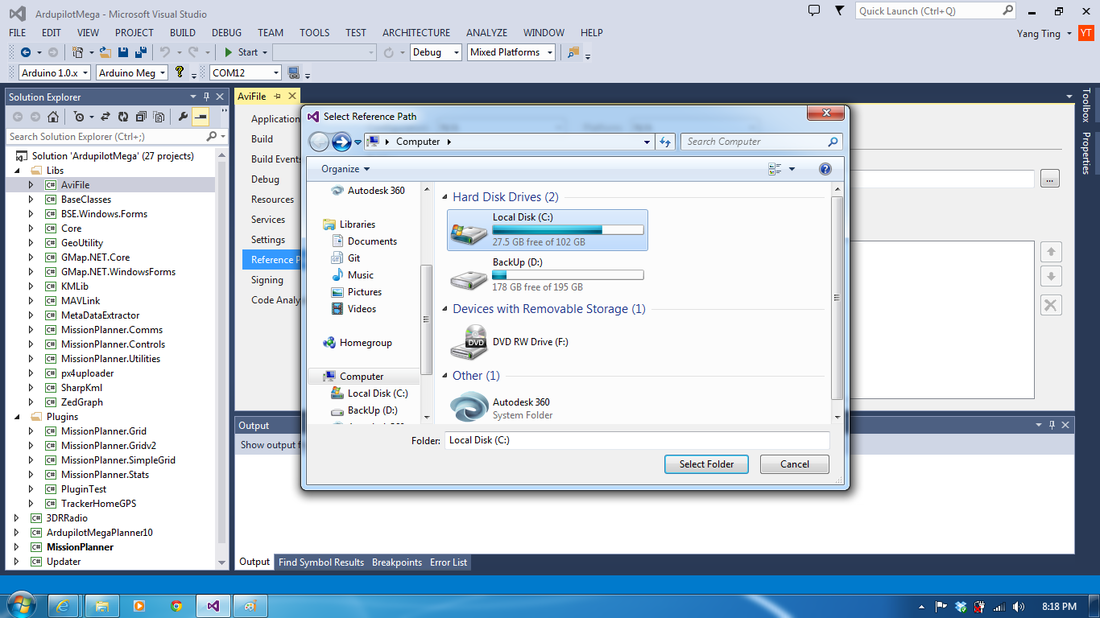
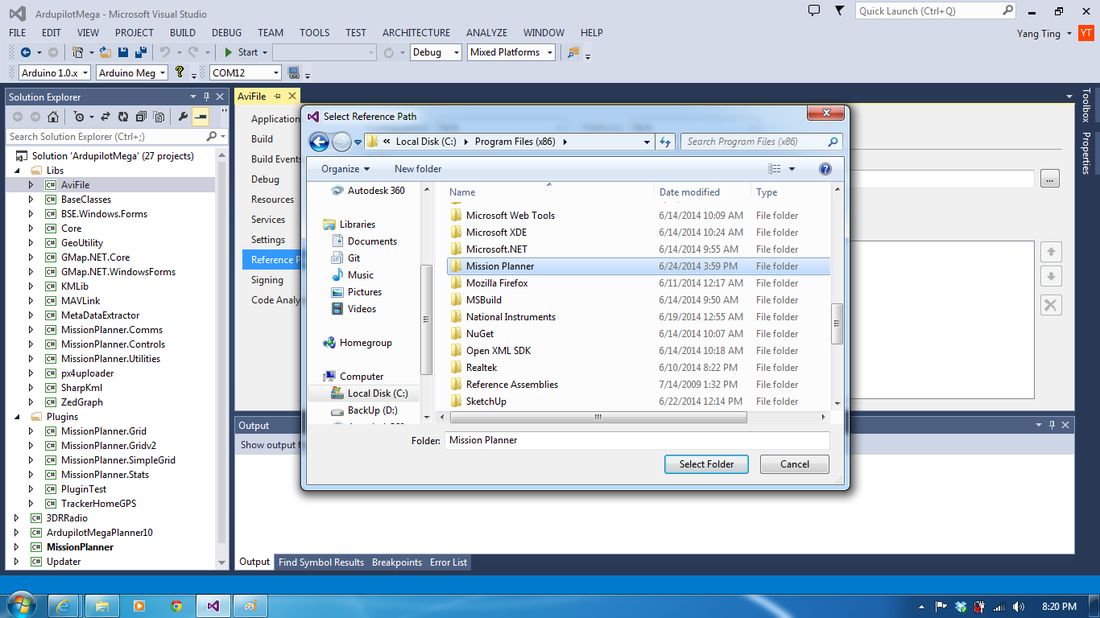
Step 5:
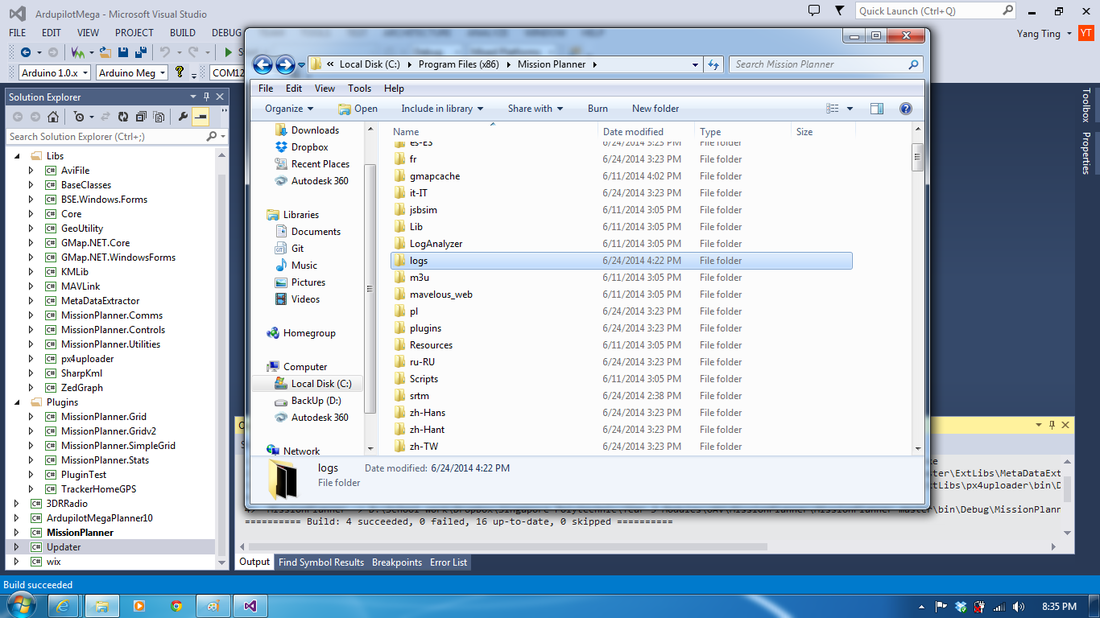
In the Folder entry, browse to the location of the "Installed" Mission Planner.
In the Folder entry, browse to the location of the "Installed" Mission Planner.
Step 6:
Select the "Mission Planner" you already installed.
Select the "Mission Planner" you already installed.
Step 7:
Click "Add Folder", Mission Planner location will appear in the "Reference paths" box.
Click "Add Folder", Mission Planner location will appear in the "Reference paths" box.
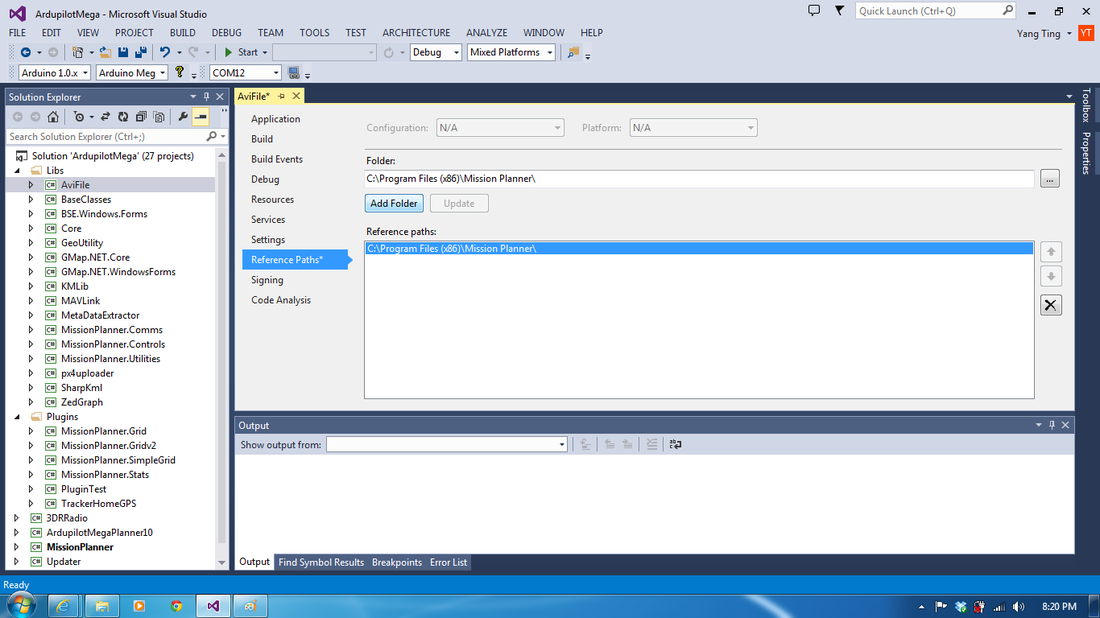
Repeat this step for every projects with C# (total have 27 projects).
If some of project already matched the setting, it's ok to bypass.
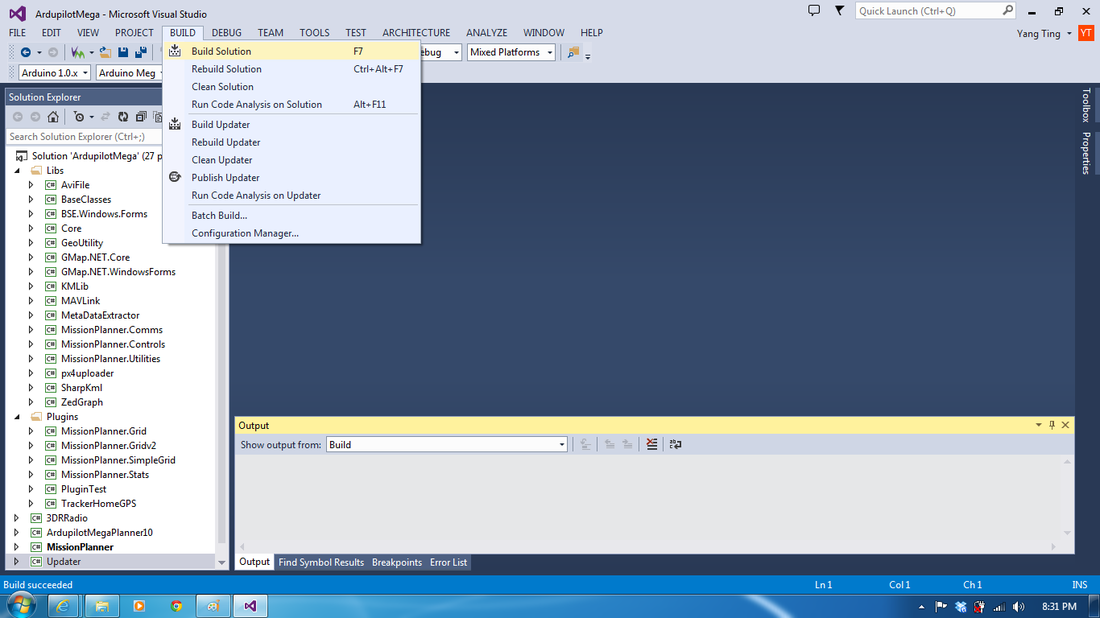
Step 8:
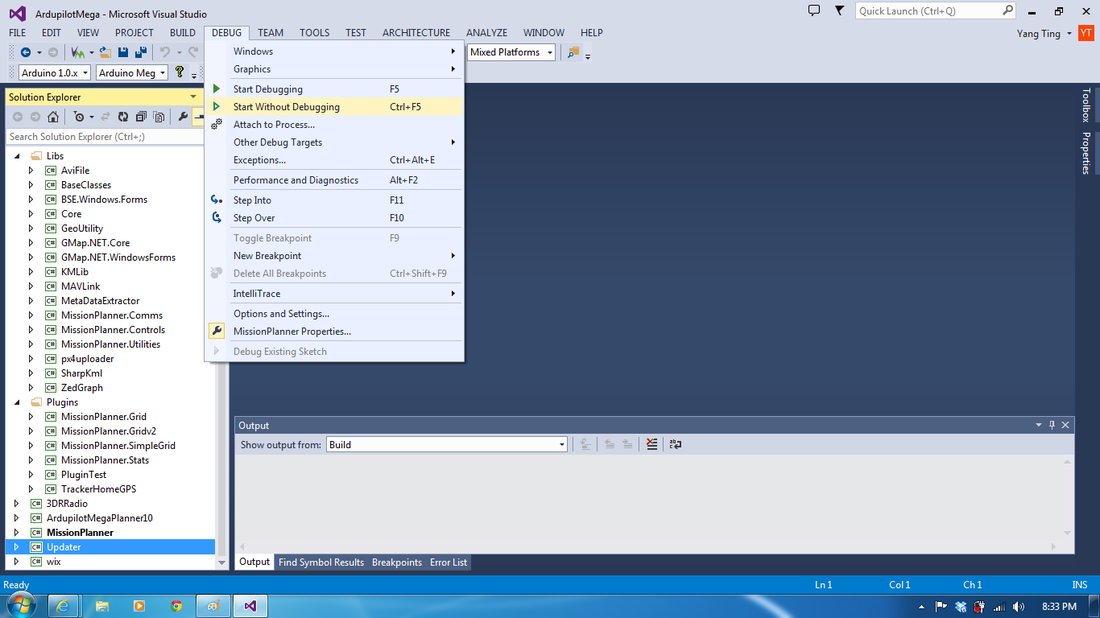
In the Microsoft Visual Studio menu click "BUILD" --> "Build Solution".
If some of project already matched the setting, it's ok to bypass.
Step 8:
In the Microsoft Visual Studio menu click "BUILD" --> "Build Solution".
Let the NuGet Package Manage running, it will take some time.
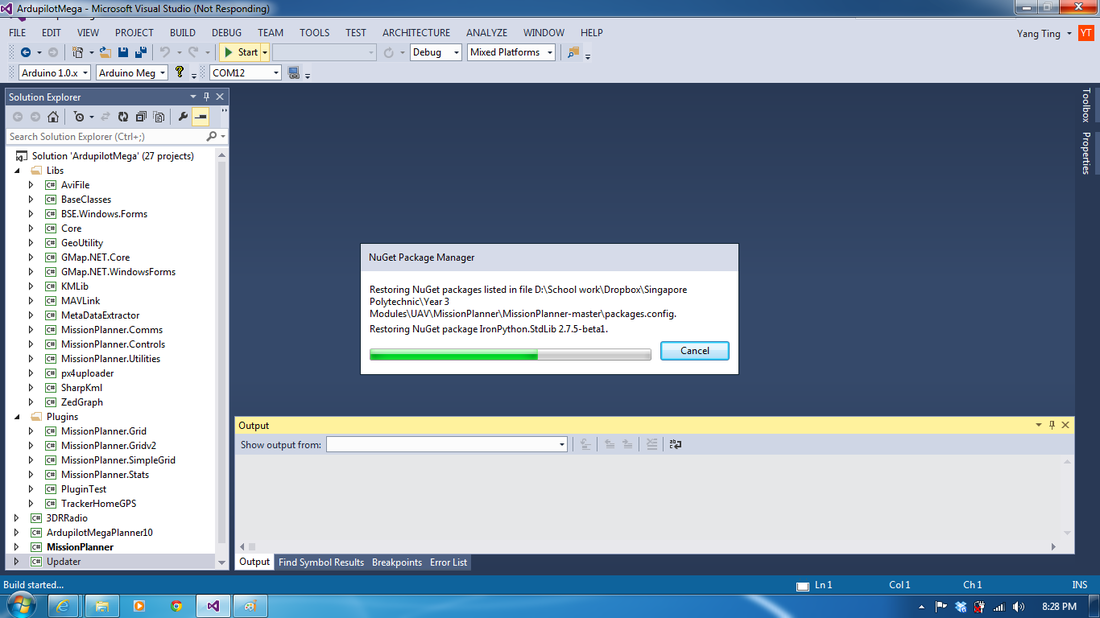
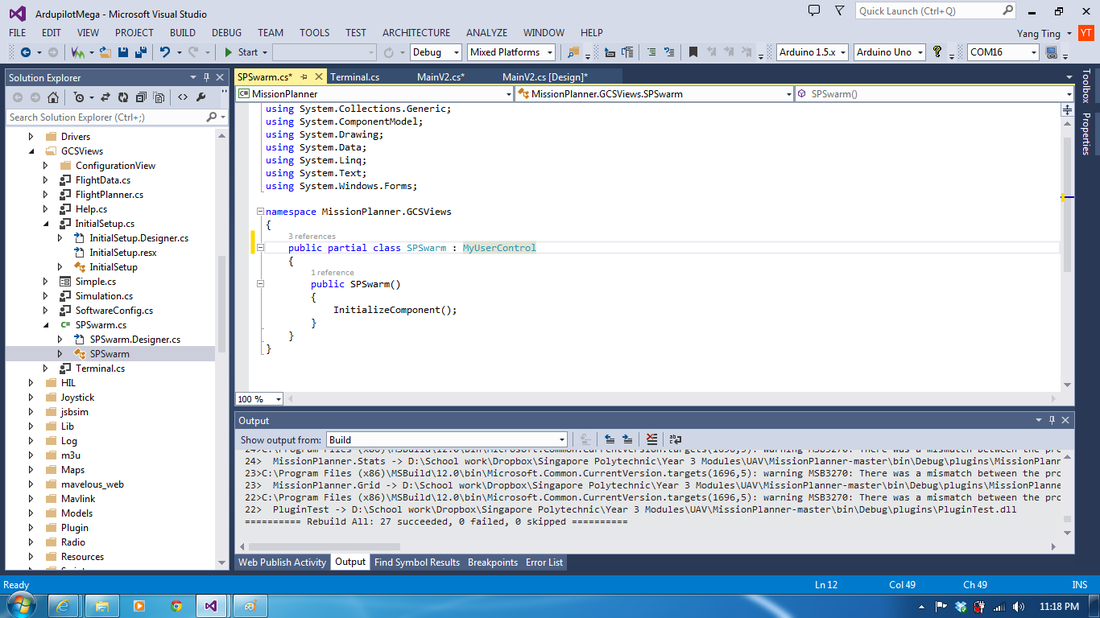
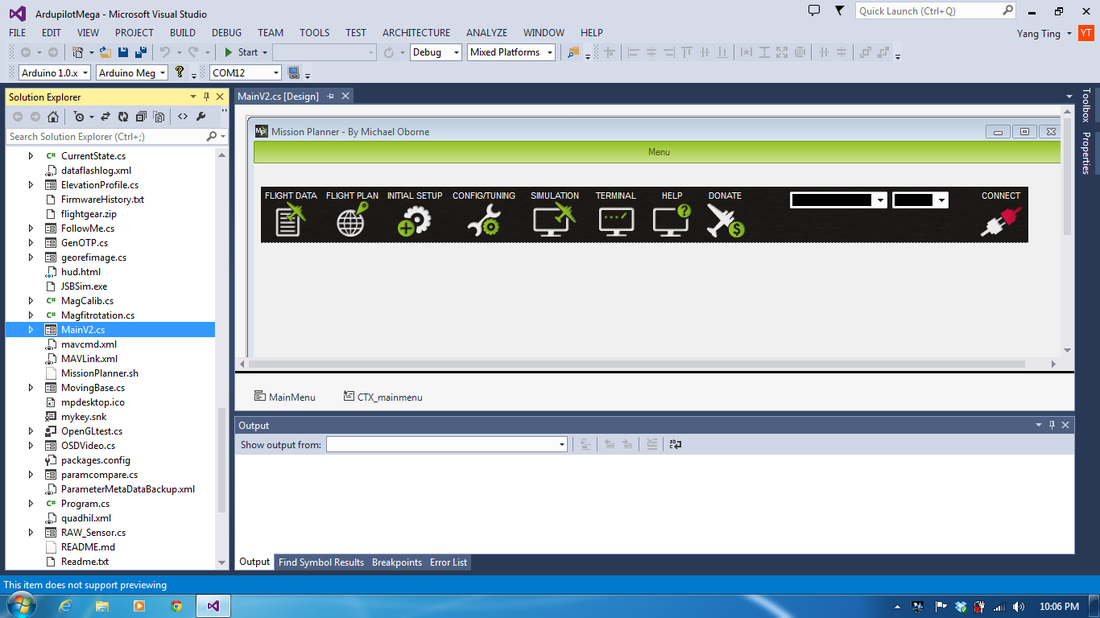
All projects should be build without errors.
Step 17
Step 18
Step 19
Step 20
Step 21
Step 22
Step 23
Step 24
Step 25